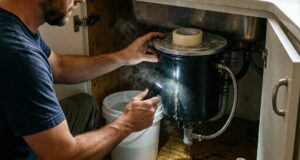
Few things disrupt a smooth kitchen routine quite like a puddle of mysterious, foul-smelling water pooling under the sink. If you just discovered a garbage disposal leak, you are likely dealing with a mix of frustration and confusion.
A kitchen disposal is a champion of convenience, but when it starts weeping water, ignoring it isn’t an option. Left unchecked, even a minor garbage disposal leak can rot your cabinetry, breed toxic mold, and ruin your flooring.
The good news? You don’t always need to panic-call an expensive emergency plumber. Many disposal issues can be diagnosed and fixed with a basic tool kit and a little patience. Here is a comprehensive, native-style guide to understanding, diagnosing, and conquering a garbage disposal leak once and for all.
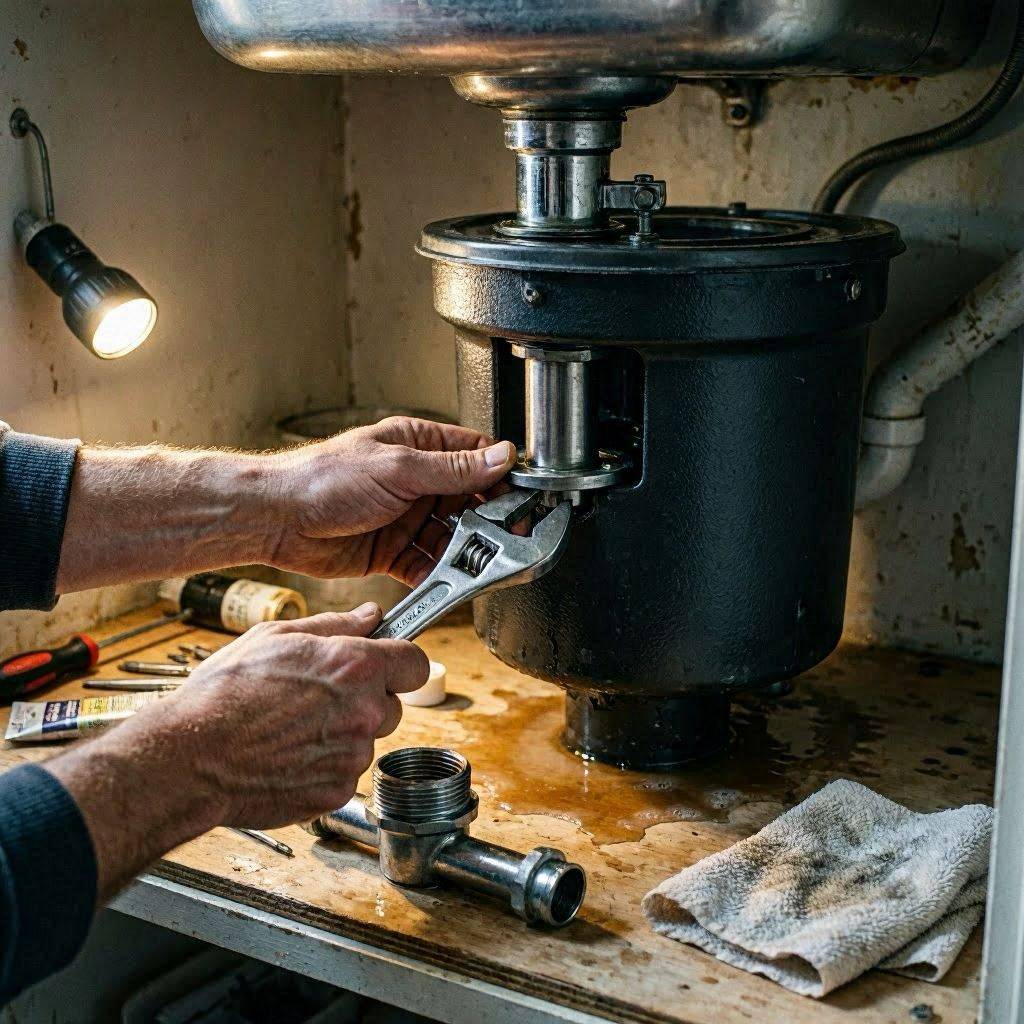
Anatomy of a Unit: Where Do Leaks Actually Start?
Before you can fix a garbage disposal leak, you have to know what you are looking at. A disposal isn’t just a solid metal canister; it is a junction point where water, electricity, appliance hoses, and PVC drain pipes all meet.
Generally, a garbage disposal leak originates from one of four primary zones:
- The Top (Sink Flange): Where the disposal connects to the bottom of your kitchen sink drain.
- The Side (Dishwasher Connection): The small rubber hose running from your dishwasher into the upper chamber of the disposal.
- The Side/Bottom (Main Drain Pipe): The PVC discharge pipe that carries waste water away into your home’s main plumbing line.
- The Absolute Bottom: The internal seals inside the motor housing itself.
Step-by-Step Diagnosis: Locating the Source
Do not just stick your head under the sink with a flashlight and start tightening random bolts. You need a systematic approach to pinpoint the exact failure point.
Step 1: Safety First
Before touching any plumbing component under your sink, unplug the garbage disposal from the wall outlet. If it is hardwired directly into the wall, switch off the dedicated circuit breaker in your electrical panel. Water and electricity are a lethal combination; never risk it.
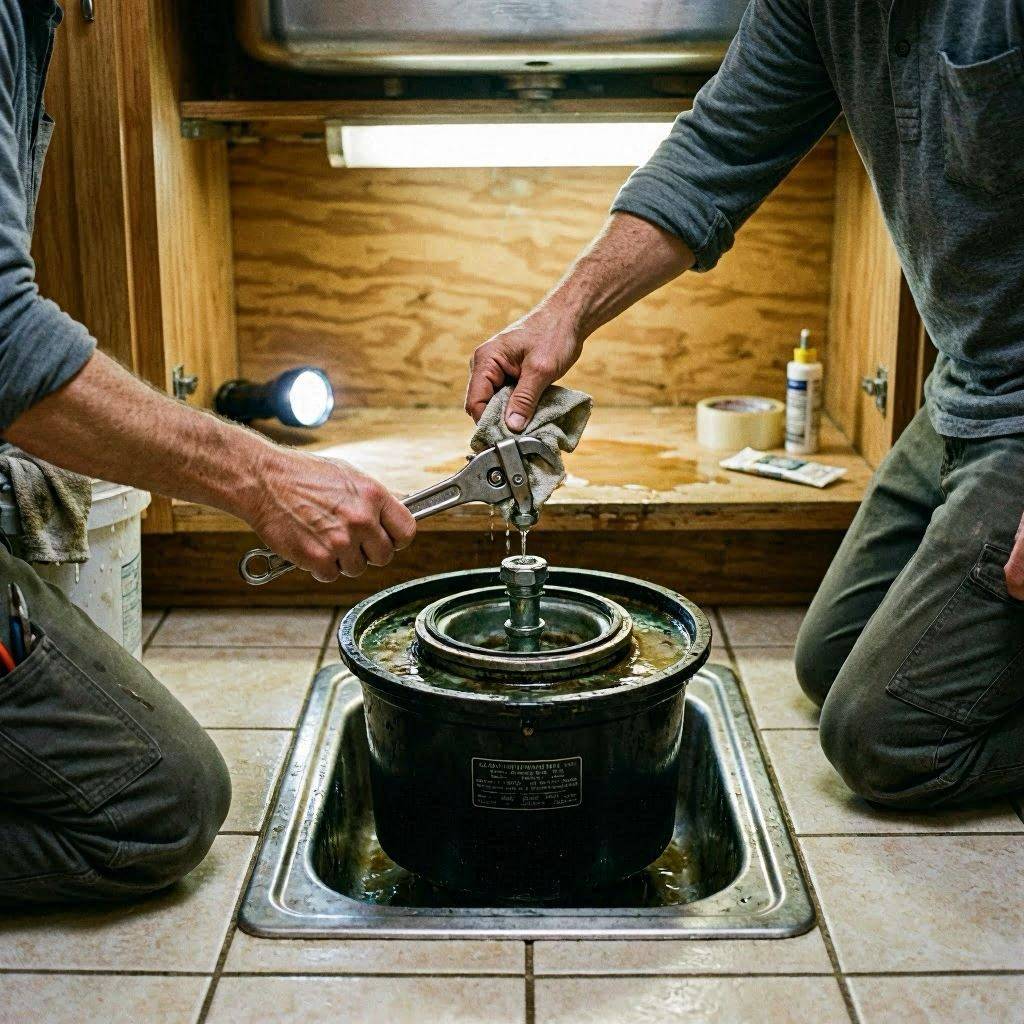
Step 2: Clean and Dry Everything
Take everything out from under your sink. Wipe down the entire exterior of the disposal unit, the pipes, and the floor of the cabinet with a dry towel. It needs to be bone dry so you can see exactly where new moisture appears.
Step 3: The Paper Towel Test
Lay dry paper towels across the bottom of the cabinet. Run a gentle stream of water down the sink drain. Watch closely.
- If water drips immediately onto the top of the unit, your garbage disposal leak is at the sink flange.
- If it drips only when the dishwasher runs, check the dishwasher hose connection.
- If it drips when water is draining down the sink, check the side discharge pipe.
- If water is weeping directly out of the bottom metal rivets or ventilation holes, the internal seals have failed.
Common Causes of a Garbage Disposal Leak and How to Fix Them
+--------------------------+---------------------------------+-----------------------------------+
| Leak Location            | Likely Culprit                  | Typical Solution                  |
+--------------------------+---------------------------------+-----------------------------------+
| Top (Sink Flange)        | Dried-out Plumber's Putty       | Reseal flange with fresh putty    |
| Upper Side Inlet         | Loose Dishwasher Hose Clamp     | Tighten clamp or replace hose     |
| Lower Side Outlet        | Worn Gasket or Loose Screws     | Replace rubber gasket/tighten     |
| Bottom Motor Base        | Failed Internal Motor Seals     | Complete unit replacement required|
+--------------------------+---------------------------------+-----------------------------------+
1. The Top-Down Leak: Failed Sink Flange
Over time, the constant vibration of the disposal motor can loosen the mounting assembly under the sink. Additionally, the plumber’s putty used to seal the drain flange to the sink bowl can dry out, crack, and erode.
- The Fix: You’ll need to disconnect the disposal from the mounting ring. Loosen the three mounting screws holding the ring assembly in place. Push the sink flange up through the top of the sink, scrape away the old, crusty putty, and apply a fresh, generous bead of new plumber’s putty. Re-seat the flange, tighten the assembly back down from underneath, and wipe away the excess putty that squeezes out.
2. The Side Drain Leak: Loose Bolts or Worn Gaskets
The discharge pipe (the PVC pipe that carries dirty water away) is connected to the disposal via a metal flange held together by one or two bolts. Inside this connection sits a rubber gasket. If the bolts shake loose, or if the rubber gasket degrades, a garbage disposal leak will form every time water drains.
- The Fix: Try tightening the bolts first. If that doesn’t stop the dripping, remove the bolts, pull the pipe away, and check the rubber gasket. If it looks dry, distorted, or cracked, head to the hardware store for a cheap replacement gasket.
3. The Dishwasher Connection Leak
Your dishwasher drains its dirty water into the side of the disposal via a rubber hose secured by a metal hose clamp. Constant heat cycles can cause this rubber to split or the clamp to back off.
- The Fix: If the leak is right at the junction, use a screwdriver or pliers to tighten the hose clamp. If the hose itself is cracked, cut off the damaged section (if there is enough slack) or buy a new dishwasher drain hose.
4. The Worst-Case Scenario: Bottom Housing Leak
If your diagnostic check reveals that water is dripping directly out of the bottom electrical housing or the lower ventilation holes of the unit, we have bad news. This indicates that the internal mechanical seals protecting the motor have deteriorated.
- The Fix: Once the internal seals go, water enters the electric motor chamber. This is an unfixable safety hazard. You cannot repair an internal motor leak. The only solution here is a complete replacement of the garbage disposal unit.
When to DIY vs. When to Call the Professionals
Fixing a loose hose clamp or swapping out a rubber gasket is well within the wheelhouse of an average homeowner with basic tools (like an adjustable wrench, pliers, and a screwdriver). Manuals for most disposal brands are easily searchable online and offer step-by-step schematics.
However, do not let pride get in the way of a dry kitchen. You should call a licensed plumbing contractor if:
- You are uncomfortable working around electrical wiring.
- The plumbing lines underneath your sink are old, corroded galvanized pipe rather than modern PVC, making them highly prone to breaking during a repair.
- You’ve tried replacing the seals and putty, but the mysterious garbage disposal leak persists.
- You lack the physical strength or right tools to safely lift and lock a heavy new disposal unit onto the mounting ring.
Professional plumbers understand the structural complexity of under-sink drainage networks. Hiring a pro ensures the job gets done with proper slope and alignment, completely eliminating future issues with drainage clogs, loud rattles, or recurring leaks.
Shopping Smart: Choosing a Durable Replacement Unit
If your garbage disposal leak requires you to buy a brand-new appliance, don’t just grab the cheapest model on the shelf. Cheap units use plastic grinding chambers and low-grade galvanized steel components that rust out within a few short years.
Look for a replacement unit that features:
- Stainless Steel Grinding Components: Stainless steel resists rust and corrosion, significantly extending the life expectancy of the internal seals.
- Good Market Reviews: Look for long-term user reviews detailing how the unit holds up after 3 to 5 years of heavy use.
- Higher Horsepower (HP): A $1/2$ HP motor is fine for light use, but a $3/4$ HP or $1$ HP motor grinds food finer and vibrates less, putting less structural stress on your pipe connections and reducing the likelihood of a future garbage disposal leak.
- Warranty Length: A manufacturer offering a 5-to-10-year in-home warranty is a clear indicator of a durable, well-built product.
Simple Preventive Habits to Stop Future Leaks
Once your disposal is bone-dry and working beautifully again, keep it that way by practicing smart kitchen habits.
Always run cold water while grinding food to keep grease solid so it can pass cleanly through the pipes. Avoid tossing fibrous materials (like onion skins, celery, or coffee grounds) down the drain, as they cause stubborn jams and clogs. The pressure build-up from a severe clog can easily blow out the rubber seals on your pipes, starting the nightmare of a garbage disposal leak all over again. Take care of your unit, and it will keep your kitchen running cleanly for years to come.