A smoothly running kitchen is a beautiful thing. You rinse the dishes, flip a switch, and watch food waste disappear down the drain. It’s an effortless routine that keeps your kitchen smelling fresh and looking clean. But that peace of mind vanishes the second you open the cabinet doors under the sink and find yourself staring at a dark, stagnant puddle.
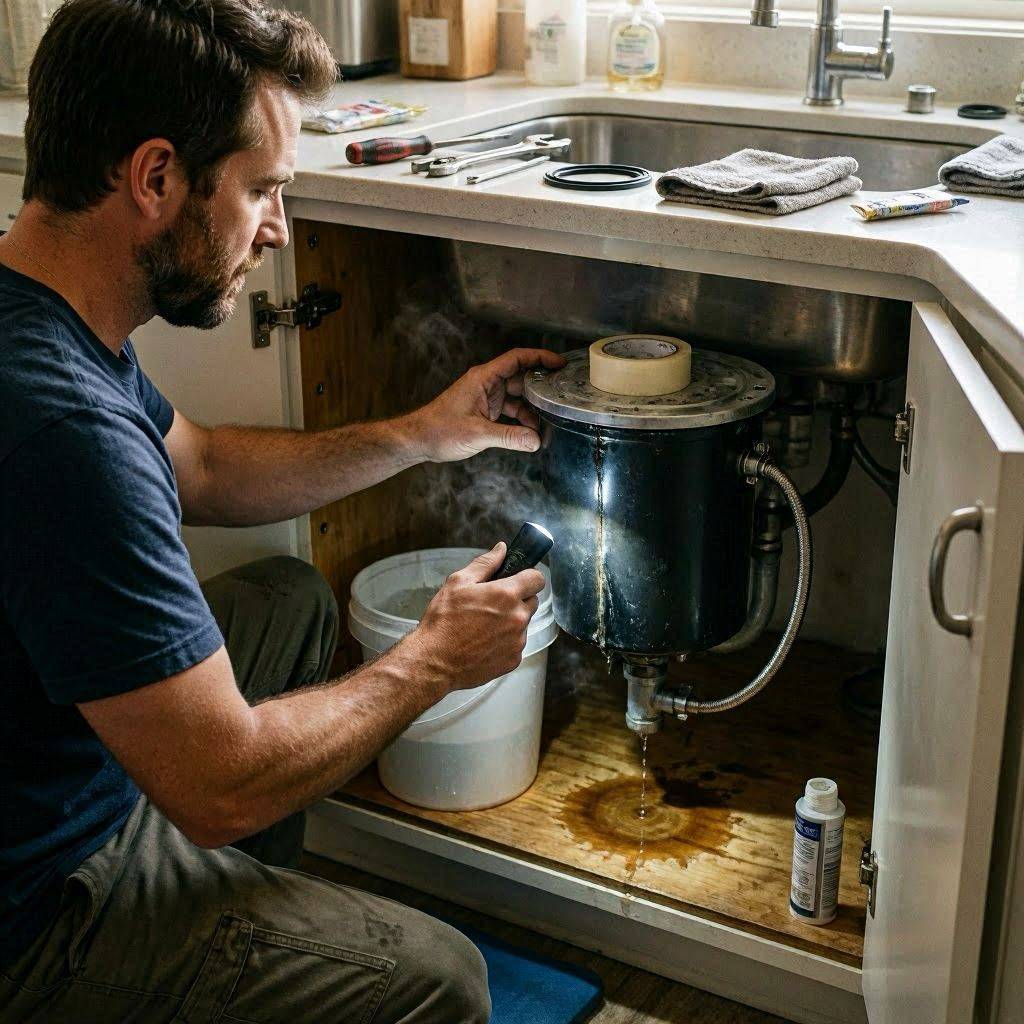
A garbage disposal leak is one of those household headaches that demands your immediate attention. Water acts fast. Left unchecked, a minor trickle will warp your expensive cabinetry, rot the flooring, and turn the dark space under your sink into a breeding ground for toxic black mold.
The good news? A dripping unit isn’t an automatic reason to panic or spend hundreds on an emergency plumber. By taking a systematic approach, you can track down the exact source of the moisture, determine whether it’s a quick DIY fix, and take steps to ensure your kitchen stays dry for the long haul.
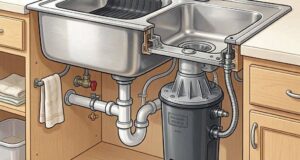
Anatomy of an Under-Sink Leak: Where Does the Water Escape?
To successfully conquer a garbage disposal leak, you have to think like a technician. A modern kitchen disposal is an intersection point where high-speed internal machinery, incoming wastewater lines, appliance drain hoses, and vibrating seals all meet. Because the unit vibrates heavily whenever it grinds up food, these connections are under constant structural stress.
Generally, an under-sink leak will originate from one of four primary zones:
               +--------------------------------------+
               |      SINK BASE / DRAIN OPENING       |
               +----------------──┬───----------------+
                                  │
    [Top Leak] ──────────────────►│◄─── Sink Flange & Putty Seal
                                  │
                           ┌──────┴──────┐
    [Side Inlet Leak] ────►│  Disposal   │◄─── Dishwasher Drain Hose
                           │             │
    [Side Outlet Leak] ───►│   Housing   │◄─── Main Waste Discharge Pipe
                           └──────┬──────┘
                                  │
    [Bottom Casing Leak] ────────►│◄─── Internal Motor Seals (Failed)
                                  +-----------------------------------+
- The Sink Flange (The Top): The connection point where the mouth of the disposal meets the bottom of your sink drain hole.
- The Dishwasher Inlet (Upper Side): The small rubber tube running from your dishwasher’s discharge line into the top chamber of the unit.
- The Discharge Pipe (Lower Side): The primary plastic PVC or ABS pipe that carries the ground-up food waste out of the machine and into your home’s main plumbing lines.
- The Motor Base (The Bottom): The very bottom of the metal canister where the internal motor sits and electrical wires enter the shell.
The Isolation Test: Finding the Leak
Never start tightening bolts or smearing sealant under your sink blindly. You need to isolate the exact component that is failing. Professional technicians use a simple, reliable diagnostic routine to pin down a garbage disposal leak within minutes.
Step 1: Disconnect the Power
Safety is the absolute priority when dealing with under-sink plumbing. Because water and electricity are a dangerous combination, you must cut the power before touching anything. Unplug the unit from the wall outlet beneath the sink. If your disposal is hardwired directly into a wall junction box, walk over to your home’s main service panel and flip the dedicated circuit breaker to the “off” position.
Step 2: Dry the Entire System
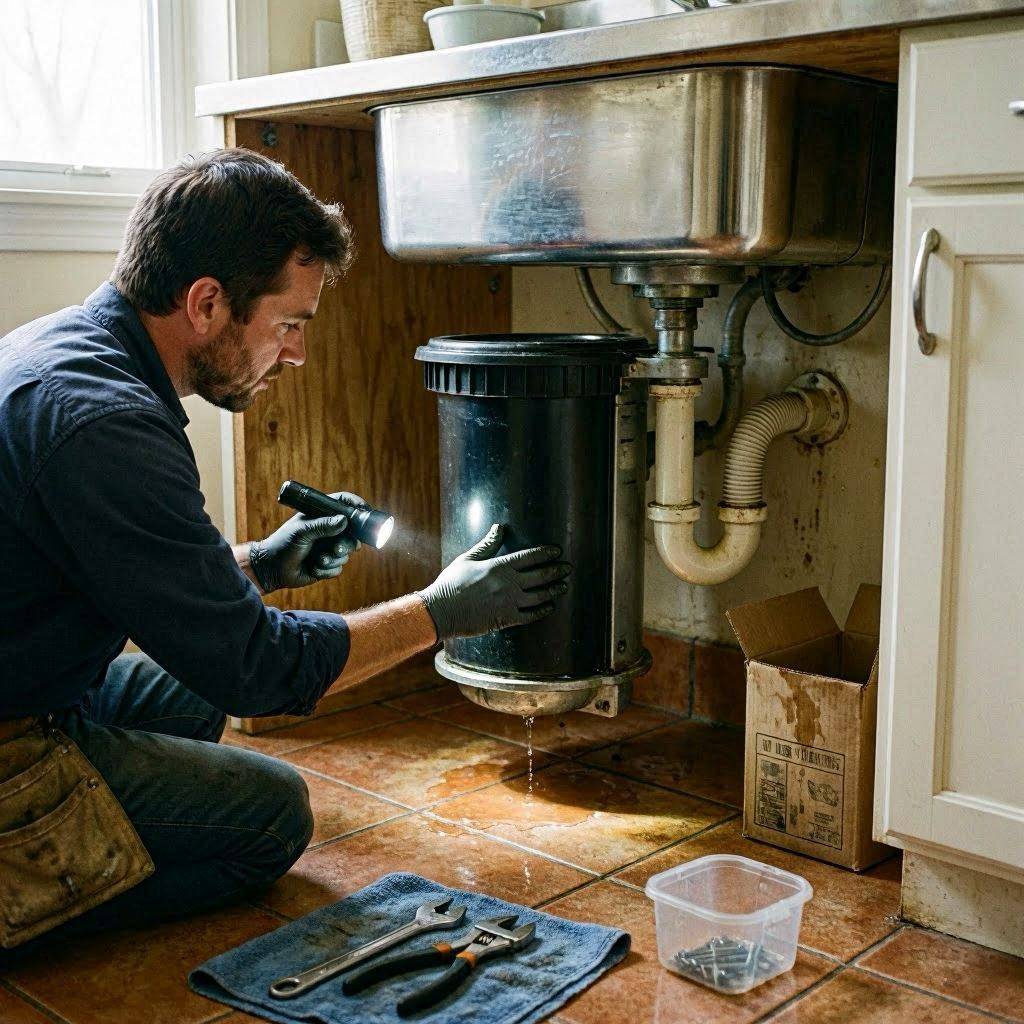
Clear out all the cleaning supplies, trash bags, and sponges from the bottom cabinet. Use a dry microfiber cloth or towel to thoroughly wipe down the entire exterior of the disposal canister, the metal mounting rings, and every single plastic pipe joint. Every surface needs to be completely dry to the touch.
Step 3: Watch the Water Flow
Lay a few sheets of dry, clean paper towel across the cabinet floor directly beneath the disposal unit. Turn on your kitchen faucet and let a steady stream of water run down into the drain hole. Take a reliable flashlight and watch where the water first begins to bead up.
- If moisture appears at the very top rim of the metal canister, your garbage disposal leak is coming from a failed sink flange seal.
- If it drips only when water is actively draining down the sink, check the rubber gasket on the side discharge pipe.
- If water is weeping directly out of the bottom metal rivets or electrical ventilation slots, the internal motor seals have completely given out.
Common Causes of a Garbage Disposal Leak and How to Fix Them
+-------------------------+-----------------------------------+-----------------------------------+
| Leak Location           | Likely Culprit                    | Standard Repair Solution          |
+-------------------------+-----------------------------------+-----------------------------------+
| Top Ring Assembly       | Dried-out Plumber's Putty         | Remove unit, reseal with fresh putty|
| Upper Side Connection   | Loose Dishwasher Hose Clamp       | Tighten metal clamp or trim hose  |
| Lower Side Connection   | Degraded Rubber Waste Gasket      | Replace the rubber gasket seal    |
| Bottom Motor Base       | Failed Internal Structural Seals  | Replace the entire disposal unit  |
+-------------------------+-----------------------------------+-----------------------------------+
1. Resealing a Failed Sink Flange
The persistent, high-frequency vibration of grinding down food waste can gradually back off the three mounting screws holding the disposal assembly against the bottom of the sink. Over time, the waterproof barrier created by the plumber’s putty breaks down, dries out, and cracks. Water will then seep through the gap every time you use the sink.
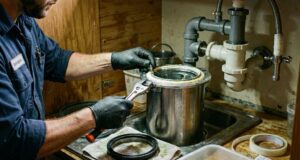
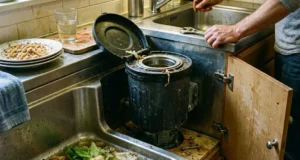
- The Fix: You’ll need to support the weight of the disposal, unlock it from the mounting ring, and back off the screws holding the ring assembly in place. Push the sink flange slightly up through the drain hole from the top of the sink. Scrape away every bit of the old, brittle putty. Apply a fresh, generous bead of new plumber’s putty around the drain opening, press the flange firmly back into place, and retighten the assembly from underneath. Wipe away any excess putty that squeezes out into the sink bowl.
2. Replacing the Side Discharge Gasket
The side discharge pipe carries all the wastewater out of the machine. It relies on a heavy-duty rubber gasket and a metal flange held tight by one or two bolts to maintain a watertight seal. If these bolts vibrate loose, or if the rubber ring degrades and loses its elasticity, a garbage disposal leak will form.
- The Fix: Try tightening the connection bolts evenly with a screwdriver or socket wrench first. If the dripping persists, back the bolts out completely, pull the pipe away, and pull out the old gasket. Take it to a local hardware store, pick up a cheap replacement rubber gasket, slip it into place, and tighten the bolts back down.
3. Securing the Dishwasher Line
Your dishwasher pumps its dirty rinse water directly into the side of the disposal via a flexible rubber line secured by a metal hose clamp.
- The Fix: If water is pooling right at this junction, check if the clamp has backed off. Use a screwdriver or pliers to tighten the hose clamp down securely. If the rubber hose itself has split or cracked from heat cycles, trim away the damaged end (if there is enough slack) or swap it out for a fresh dishwasher drain line.
4. Conquering a Bottom-Casing Leak
If your diagnostic paper towel test proves that water is dripping directly out of the lower ventilation slots or the bottom metal rivets of the canister, you are facing a internal mechanical failure. The internal shell seals protecting the electric motor have deteriorated, allowing water to bypass the grinding chamber and flood the live electrical compartment.
- The Fix: This is a critical safety hazard. There is no patch, epoxy, or sealant that can safely fix an internal bottom motor leak. Once moisture enters the motor housing, the unit is done. The only safe and permanent solution is to discard the old machine and install a brand-new garbage disposal unit.
Bad Kitchen Habits That Destroy Your Plumbing
Many homeowners don’t realize that a chronic garbage disposal leak is often the direct result of what they drop down the drain. Your kitchen disposal is built tough, but it isn’t an industrial trash compactor. Pouring warm cooking oils, bacon grease, or melted fats down the sink drain is a recipe for a plumbing disaster.
                       [ THE ANATOMY OF A PLUMBING JAM ]

      Cooking Fats / Oils           Fibrous Material            Hard Waste Scraps
     (Cools & solidifies)         (Celery, onion skins)       (Bones, fruit pits)
              │                            │                           │
              ▼                            ▼                           ▼
      Coats pipe walls            Twists around blades        Jams internal flywheels
              │                            │                           │
              └────────────────────────────┼───────────────────────────┘
                                           │
                                           ▼
                            [ BACKPRESSURE & MOTOR OVERHEAT ]
                                           │
                                           ▼
                             BLOWS OUT RUBBER CASING SEALS
                                           │
                                           ▼
                                 GARBAGE DISPOSAL LEAK
While grease flows easily when hot, it cools rapidly once it hits your under-sink PVC lines, solidifying into a thick, waxy restriction point. This trapped grease catches passing food particles, forming a stubborn clog deep in your lines. When wastewater can no longer flow down the drain, intense backpressure builds up inside the disposal chamber, forcing water past the rubber gaskets and creating a messy leak.
Similarly, dropping high-fiber items like celery strings, onion skins, or corn husks into the machine is highly destructive. These fibrous materials wrap around the rotating impellers, jamming the blades. When the motor tries to spin against a total jam, it quickly overheats, melts its internal components, and ruins the critical seals holding the water back.
DIY vs. Professional Assistance: When to Call the Experts
Swapping out a rubber gasket or tightening a loose hose clamp is a straightforward weekend project for a handy homeowner. However, certain situations demand advanced technical expertise. If you aren’t comfortable dealing with electrical wiring, or if you feel overwhelmed by the complexity of the under-sink drainage grid, calling a professional is the smartest move.
With the rise of modern online service platforms, finding a reliable, licensed plumbing contractor in your city has never been faster or easier. You can look up local companies, check customer reviews, and get a quick upfront estimate right from your phone.
You should absolutely skip the DIY route and hire an expert if:
- The leaking water is seeping into the drywall behind your cabinet, signaling an underground line issue.
- Your home uses old, corroded galvanized metal lines rather than modern PVC pipes; old metal lines easily snap and crack if twisted with a wrench.
- Your disposal unit is hardwired directly into a high-voltage wall box without a standard plug, making electrical knowledge essential for a safe replacement.
Simple Preventive Habits for a Dry Kitchen
The absolute best way to handle a garbage disposal leak is to make sure it never happens in the first place. Practicing basic kitchen preventive maintenance will extend the life expectancy of your appliance by years.
- Run Plenty of Cold Water: Always turn on a strong stream of cold water before you flip the disposal switch, and leave it running for at least 15 to 20 seconds after the grinding noise stops. Cold water keeps fats solid so they can be chopped up and flushed completely out of your home’s plumbing lines, preventing the clogs that cause backpressure.
- Keep Hard Objects Out: Keep animal bones, fruit pits, unpopped popcorn kernels, and seafood shells out of the grinding chamber. These items chip the grinding components, cause heavy motor rattles, and can crack the outer housing.
- Regular Cleaning: Periodically drop a handful of ice cubes and a cup of rock salt down the drain. Run the disposal with cold water to scrub the internal blades clean of old food residue, eliminating bad kitchen odors.
By keeping an eye on your appliance, running plenty of water, and addressing minor drips immediately, you can ensure your under-sink space stays dry, clean, and completely leak-free.