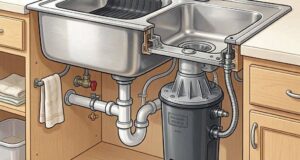
You’ve tried tightening the loose bolts, you’ve scraped away and replaced the old plumber’s putty, and you’ve checked all the pipe connections, but the water keeps dripping. When a chronic garbage disposal leak is weeping directly out of the bottom metal ventilation holes or the electrical casing, it means the internal mechanical seals have permanently failed.
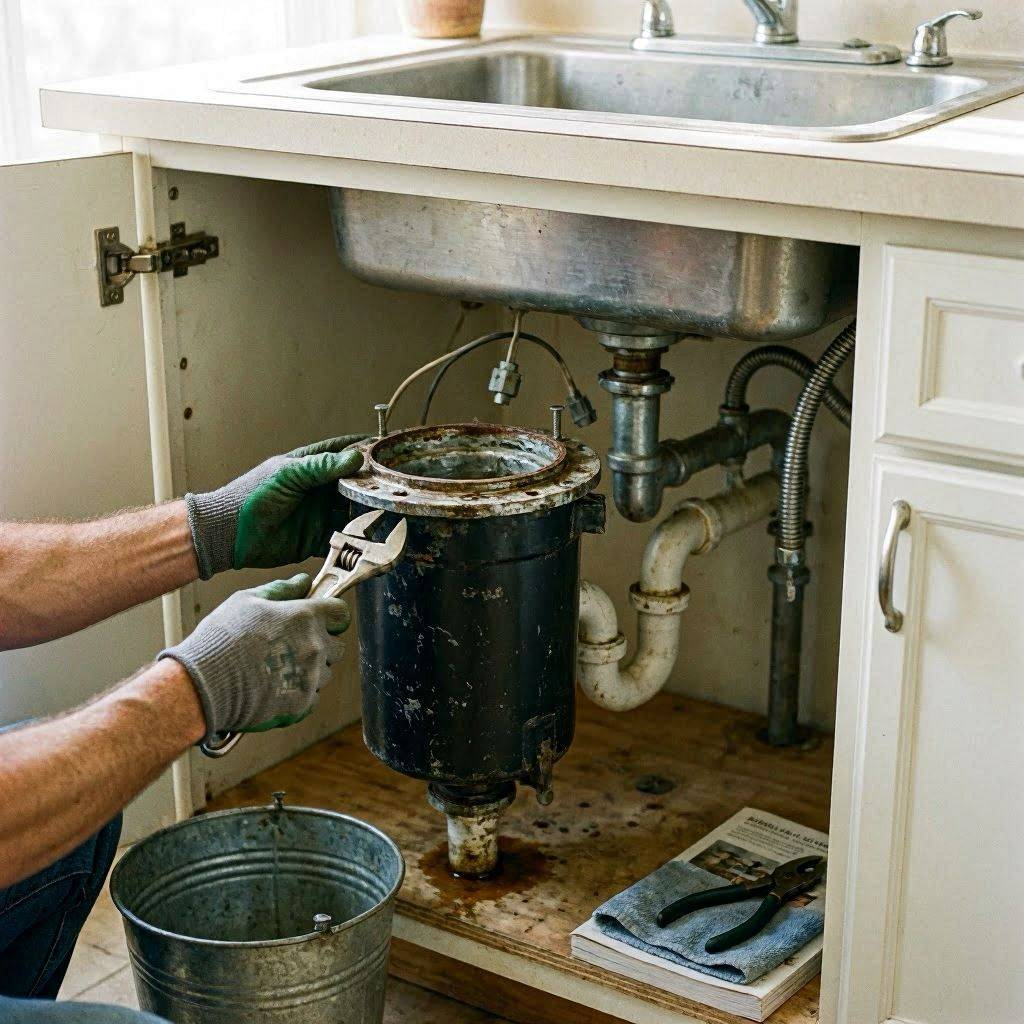
Once moisture enters the electric motor chamber, the appliance becomes an unfixable safety hazard. There is no quick fix, patch, or epoxy that can save it. It’s time to retire the old workhorse and replace it with a fresh unit.
Taking out an old kitchen disposal can feel intimidating if you aren’t used to under-sink plumbing. However, the removal process is a straightforward, logical sequence that requires only basic household tools. Whether you are swapping in an exact replacement from the same brand or shifting to a completely different manufacturer, this step-by-step removal guide will walk you through the entire teardown without flooding your kitchen cabinet.
The Toolbox: What You Need On Hand
Before you disconnect a single pipe, gather your tools. Having everything within arm’s reach prevents you from having to scramble across the house with a half-disconnected, dripping plumbing line in your hand.
+-----------------------------------+-----------------------------------------------------------------+
| Tool Needed                       | Primary Purpose                                                 |
+-----------------------------------+-----------------------------------------------------------------+
| Screwdriver (Flathead & Phillips) | Loosening mounting ring screws and hose clamps                  |
| Adjustable Wrench / Channel Locks | Backing off stubborn plumbing slip-nuts                        |
| Heavy Bucket or Shallow Pan       | Catching residual wastewater trapped in the lines              |
| Putty Knife                       | Scraping old, hardened plumber's putty off the sink drain       |
| Coarse Scouring Pad (Brillo)      | Cleaning the sink basin surface down to bare metal              |
| Hacksaw (Optional)                | Emergency backup if old plastic slip-nuts are permanently fused |
+-----------------------------------+-----------------------------------------------------------------+
Step 1: Isolate the Power and Prep the Workspace
Safety is the absolute priority. Never work on an appliance that is connected to a live electrical grid. Water and electricity are a dangerous combination, especially when you are working in a tight, dark space under a metal sink.
- Kill the Power: If your disposal plugs into a standard outlet under the cabinet, pull the plug out completely. If the unit is hardwired directly into a junction box, walk over to your home’s main service panel and flip the dedicated kitchen circuit breaker to the “off” position. Tag the breaker box so no one accidentally flips it back on while you are working.
- Clear the Space: Empty out every bottle of dish soap, sponge, and trash bag from the bottom cabinet. You need maximum room to move your arms and place your tools.
Step 2: Disconnecting the Drainage Lines
The disposal acts as a major hub for your kitchen’s drainage system. Before you can drop the heavy canister, you have to disconnect the incoming and outgoing water lines.
- Unfasten the Dishwasher Line: If your dishwasher drains through your disposal, locate the flexible rubber hose connected to the small nipple on the upper side of the disposal canister. Use a screwdriver or pliers to loosen the metal hose clamp, slide it back, and pull the rubber hose off the inlet.
- Disconnect the Main Discharge Pipe: Place your bucket directly underneath the plumbing P-trap (the curved section of pipe). There will always be dirty, stagnant water trapped inside these lines from previous uses. Using your Channel Lock pliers or an adjustable wrench, loosen the slip-nuts connecting the waste pipe to the main vertical discharge line.
Plumber’s Shortcut: If you are working on an old system where the plastic plumbing components have completely frozen or cross-threaded over time, do not waste hours fighting them. Use a hacksaw to cleanly slice through the straight section of the plastic PVC pipe. You can easily purchase cheap slip-joints and pipe extensions at any local hardware store when it comes time to hook up the new machine.
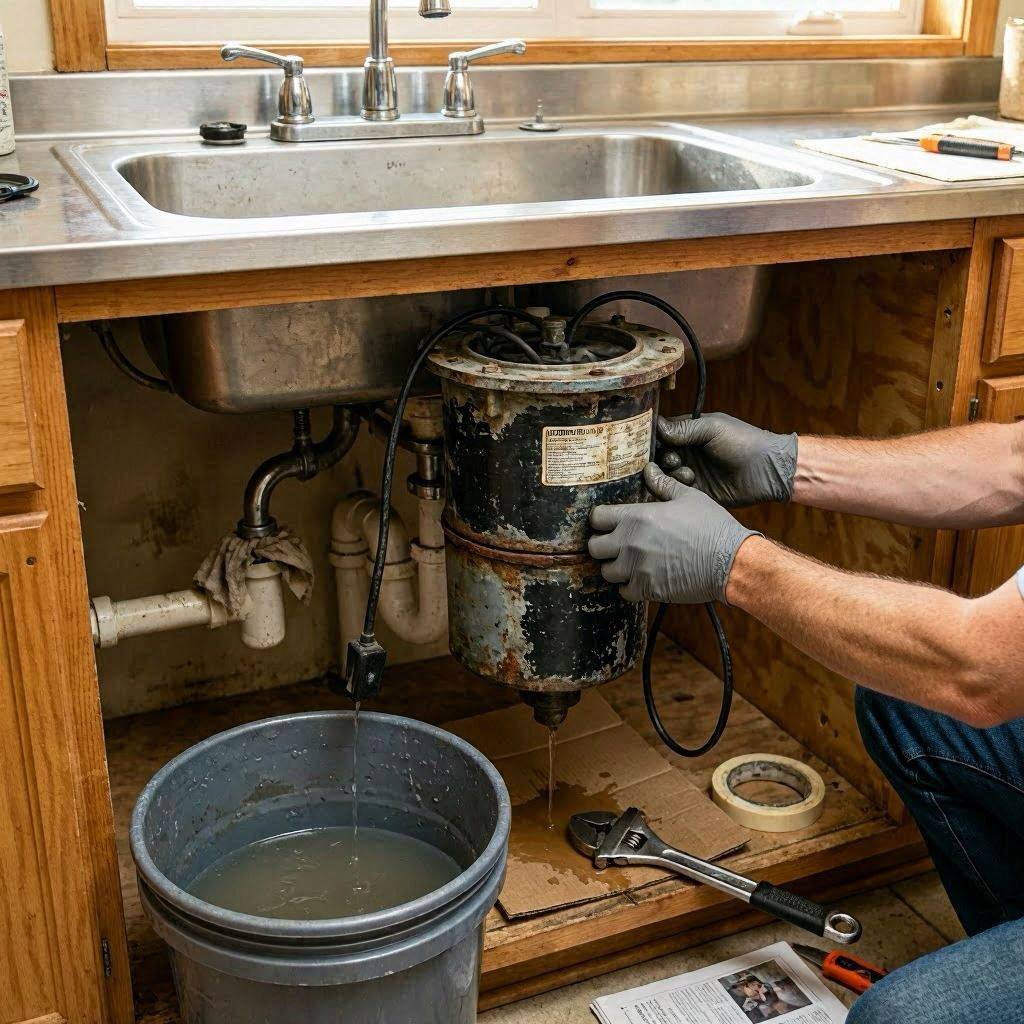
Step 3: Dropping the Heavy Disposer Casing
Now that the appliance is completely free from the plumbing lines, you can remove the heavy main body from the mounting assembly beneath the sink drain.
- Support the Weight: Garbage disposals are surprisingly heavy, often weighing anywhere from 12 to 20 pounds due to the dense electric motor inside. Place your hand firmly under the base of the canister to support it so it doesn’t fall and crack your plastic plumbing traps or drop onto your hand.
- Release the Lower Mounting Ring: Look at the metal collar at the very top of the disposal body. Locate the small metal loops or tabs on the outer ring. Insert the tip of a sturdy screwdriver into one of these loops to use as a lever.
- Twist to Free: Firmly push or pull the screwdriver to the left (counterclockwise). This rotates the lower mounting ring, releasing the locking tabs that secure the unit to the sink hanger. As the ring turns, the disposal will drop free into your hand. Set the old, leaking unit aside on an old towel.
Step 4: Evaluating the Mounting Assembly
At this stage, your path depends entirely on the type of new appliance you purchased at the home improvement store.
                              [ CHOOSE YOUR PATH ]
                                       │
       ┌───────────────────────────────┴───────────────────────────────┐
       ▼                                                               ▼
 [ SAME BRAND ]                                                 [ DIFFERENT BRAND ]
(e.g., InSinkErator to InSinkErator)                          (e.g., Changing manufacturers)
       │                                                               │
       ▼                                                               ▼
Keep existing hardware.                                       Remove old mounting rings,
Mount new unit directly.                                      flange, and putty. Clean bare metal.
Path A: Replacing with the SAME Brand
If you chose a replacement unit from the exact same manufacturer (for example, swapping an old InSinkErator for a new one), you are in luck. Most major brands maintain a uniform, proprietary mounting configuration across their product lines. Look closely at the existing three-bolt mounting flange hanging from your sink drain. If the metal rings are clean, structural, and rust-free, stop here. You do not need to tear out the old sink sleeve. You can lift your brand-new disposal into place and lock it directly onto the existing hardware, saving yourself a massive amount of time and effort.
Path B: Replacing with a DIFFERENT Brand
If you changed brands, the old mounting pattern will not match the new locking ring. You must strip the sink drain completely down to bare metal to install the new hardware kit that came inside the box.
1.Back off the Mounting Screws:Loosen Hardware.
Locate the three long screws extending upward through the lower mounting ring. Use a screwdriver to back these screws down evenly until the tension on the upper assembly is completely released.
2.Pop the Snap Ring:Release the Clip.
Inside the groove of the vertical sink sleeve, you will find a small, spring-loaded metal snap ring holding the entire bracket together. Wedge the flat edge of a screwdriver under the ring gap and pry it off. Once the snap ring pops loose, the metal mounting rings will slide right off the sleeve.
3.Push the Sink Sleeve Out:Extract the Flange.
Go up to the top side of the kitchen sink. Grab the round metal flange inside the drain hole and pull it straight up and out of the basin. The fiber gasket underneath the sink will drop away simultaneously.
Step 5: Preparing the Surface for the New Unit
Once the old hardware is entirely removed, you will be left with a messy ring of old, hardened plumber’s putty caked around the edge of the sink drain opening. Ignoring this residue is a guaranteed way to cause a premature garbage disposal leak on your brand-new installation. New putty cannot bond cleanly to old, dirty surfaces.
Take your putty knife and carefully scrape away the thick, brittle chunks of old sealant from both the top and bottom faces of the sink basin. Be gentle if you are working on a porcelain or composite sink to avoid scratching the finish.
Once the large chunks are gone, grab a coarse scouring pad or a damp Brillo pad. Scrub the circular metal edge of the drain hole thoroughly until every trace of old adhesive, grease, and slime is gone. Wipe the entire area down with a dry rag until the stainless steel or porcelain surface is smooth and bone-dry.
Your kitchen sink is now perfectly prepped, clean, and ready for a smooth, watertight installation of your new disposal unit.