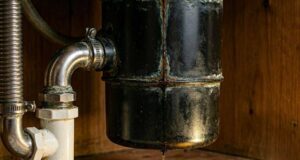
Plumber’s putty has been the traditional backbone of under-sink waterproofing for generations. When installed correctly, this pliable, oil-based clay forms a reliable barrier that prevents thousands of gallons of kitchen wastewater from slipping past your drain collar. However, if you open your cabinet doors and discover a slow drip tracking down the upper neck of your appliance, you are likely dealing with a case of failing or leaking plumber’s putty on your garbage disposal.
When a garbage disposal leaking problem is traced back to a compromised putty ring, it means the physical seal between your sink basin floor and the metal mounting flange has developed gaps.
Because this connection bears the brunt of everyday kitchen usage—from steaming pasta water to the violent vibrations of grinding food—putty degradation is a very common issue. This detailed guide breaks down why your disposal’s plumber’s putty fails, how to identify the breakdown, and the exact steps required to restore a completely watertight connection.
The Role of Plumber’s Putty in Your Disposal Assembly
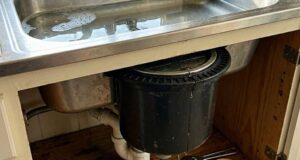
To understand why a leak forms at this specific joint, it helps to visualize the mechanical arrangement holding your disposal to the sink. The metal piece visible inside your sink bowl is the sink flange.
Before this flange is dropped into the drain opening, a thick rope of plumber’s putty is pressed against its underside.
[Inside Sink Bowl] ──────> Metal Sink Flange
                            ▲
                            └── Plumber's Putty Ring (Creates the Watertight Seal)
─────────────────────────────────────────────────────────────────────────
[Under-Sink Cabinet] ────> Sink Basin Floor
                            ├── Triangular Fiber Gasket
                            ├── Backup Mounting Ring
                            └── Three Long Compression Screws
From underneath the cabinet, a triangular fiber gasket, a backup ring, and a heavy three-bolt mounting ring are slid onto the flange neck. When you tighten those three screws, it pulls the top flange downward, compressing the plumber’s putty until it forms a thin, custom-molded, completely airtight seal inside the sink drain rim.
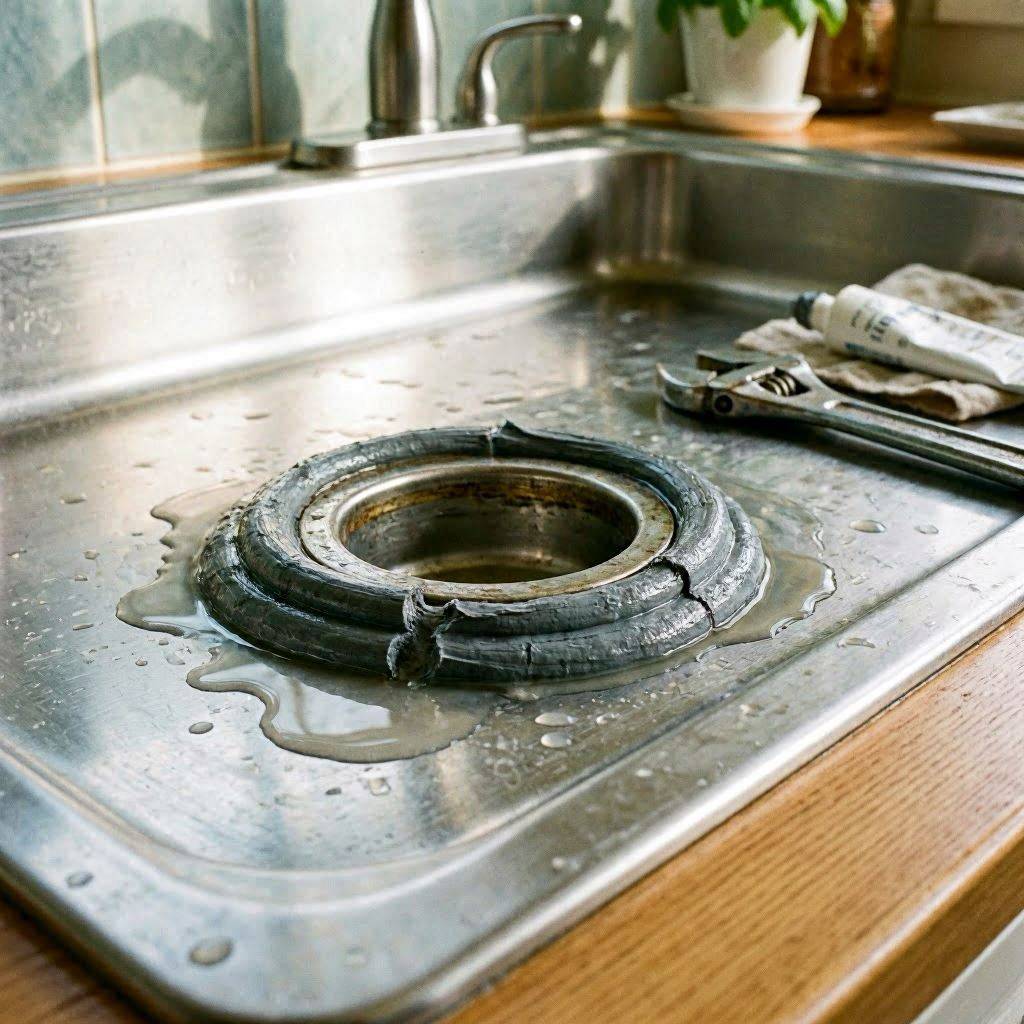
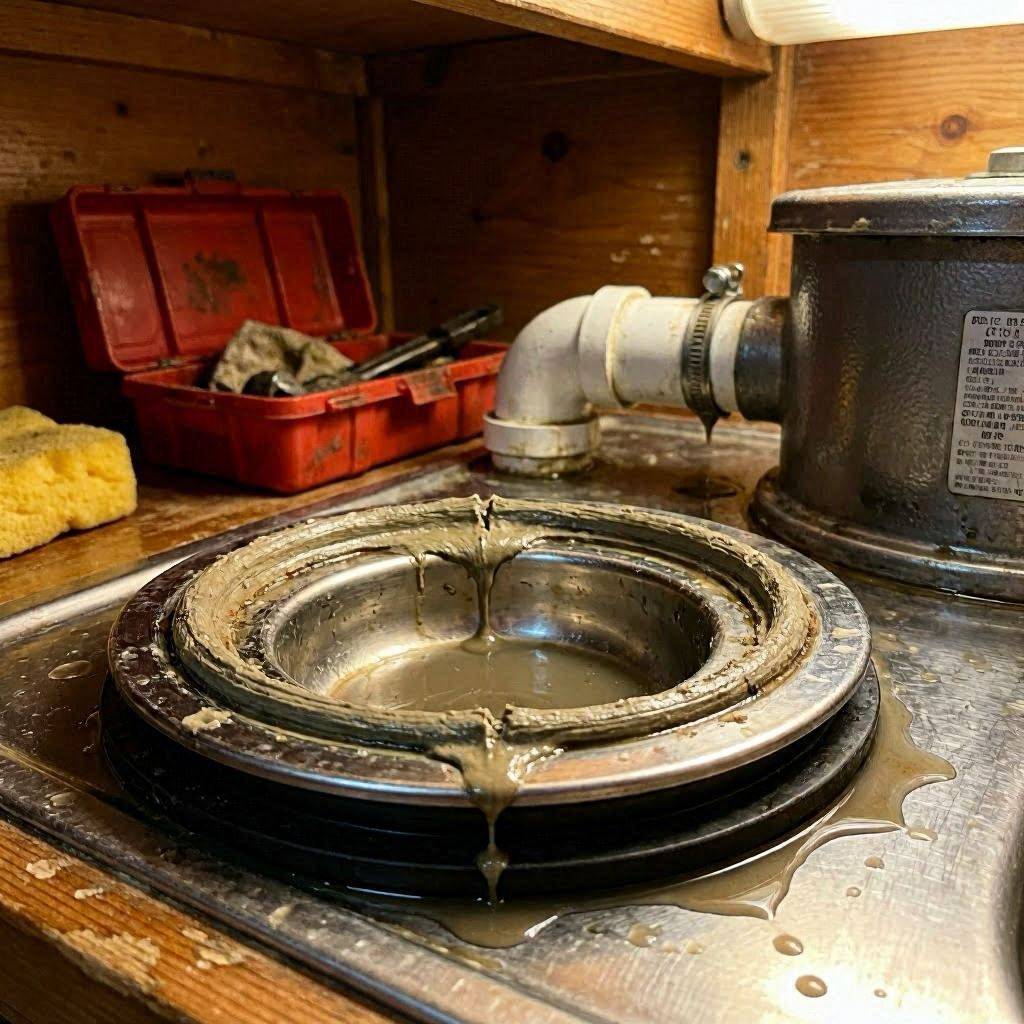
If that compressed putty layer cracks, shrinks, or washes away, a garbage disposal leaking scenario is the immediate result.
Why Plumber’s Putty Begins to Leak Over Time
Plumber’s putty is highly durable, but it is not completely indestructible. Several distinct factors can cause this material to fail prematurely under a kitchen sink:
1. Age, Drying, and Loss of Elasticity
Plumber’s putty relies on specific oils to maintain its soft, dough-like flexibility. Over a period of 5 to 10 years, constant exposure to air, rushing water, and dry household environments causes these vital oils to slowly evaporate. As the putty dries out, it hardens into a brittle, rock-like substance that easily cracks under the slightest movement.
2. High-Frequency Vibrational Micro-Shocks
Garbage disposals are powered by high-torque electric motors that spin heavy impellers at thousands of RPMs. When you grind tough food waste like small bones, vegetable stalks, or ice cubes, the unit generates intense physical vibrations. If the putty ring has already begun to harden with age, these continuous micro-shocks act like a tiny jackhammer, fracturing the brittle putty seal and opening up clear pathways for water leaks.
3. Exposure to Chemical Cleaners and Boiling Water
Pouring highly caustic chemical drain openers down your sink is terrible for your plumbing system, including your disposal seals. These harsh chemicals generate intense chemical heat and introduce aggressive solvents that can rapidly dissolve the oil binders inside plumber’s putty. Similarly, regularly dumping massive pots of boiling pasta water down the drain subjects the putty to thermal shock, causing it to soften and slowly erode over time.
4. Poor Initial Compression and Air Pockets
If the three mounting screws underneath the sink were not tightened evenly during the initial installation, the putty layer will be unevenly compressed. This leaves areas where the putty is too thick or contains hidden air pockets. Over months of regular use, water pressure will easily punch through these weak, under-compressed zones.
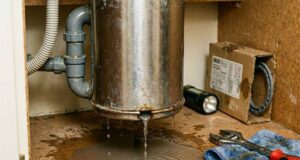
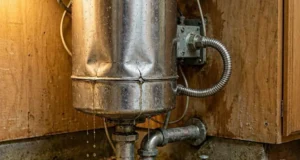
How to Confirm Your Putty Seal Has Failed
Before dismantling your sink configuration, you must perform a simple diagnostic check to isolate the putty ring as the true source of your garbage disposal leaking issue.
- Dry the Unit Extensively: Unplug the disposal from its electrical outlet for safety. Use a dry cloth to completely wipe down the upper mounting rings, the bottom of the sink basin, and the upper body of the machine until no moisture remains.
- Conduct a Low-Flow Test: Turn on your kitchen faucet to a gentle trickle and direct the stream purely along the top perimeter of the metal drain ring inside the sink bowl. Do not activate the disposal motor.
- Inspect with a Flashlight: Peer under the cabinet. Look closely at the space between the underside of the sink and the black triangular fiber gasket. If you see water weeping down from the very top of the neck before it touches any side discharge pipes, your plumber’s putty has officially failed and must be replaced.
Step-by-Step Restoration: How to Reseal Your Sink Flange
Fixing a leaking putty ring is a highly cost-effective DIY plumbing task that requires basic hand tools and about an hour of your time.
Tools and Supplies Needed:
- A container of fresh, high-quality Plumber’s Putty
- A flathead and a Phillips head screwdriver
- A plastic putty knife (to avoid scratching your sink)
- Rubbing alcohol or a mild degreasing cleanser
- A bucket or small car jack to support the heavy disposal unit
1.Support the Unit and Unlock the Lower Ring:10 Minutes.
Ensure the power cord is completely unplugged. Place a small car jack, an upside-down bucket, or a stack of sturdy books directly beneath the disposal body to hold its weight. Insert a large screwdriver into one of the extended ears on the lower mounting ring. Rotate the ring firmly counterclockwise to unlock the disposal from the upper mounting assembly, then carefully lower the machine out of the way.
2.Remove the Screws and Pop the Retaining Snap Ring:15 Minutes.
Loosen the three long compression screws on the backup ring evenly using your screwdriver. Once the tension is completely released, use a flathead screwdriver to gently pry open the spring-loaded metal snap ring that sits inside a groove on the flange neck. Slide the snap ring, the metal mounting rings, and the fiber gasket completely off the flange assembly.
3.Extract the Old Flange and Clean All Residue:15 Minutes.
Go above the counter and pull the metal sink flange straight up and out of the sink drain opening. Use a plastic putty knife to scrape away every single trace of old, dried, crusty putty from both the stainless steel sink basin floor and the underside of the metal flange. Wipe both surfaces down thoroughly with rubbing alcohol until they are smooth and clean; new putty will fail to create a watertight bond if any old oily residue is left behind.
4.Roll and Apply a Fresh Rope of Plumber’s Putty:15 Minutes.
Grab a golf-ball-sized portion of fresh plumber’s putty from the container. Roll it vigorously between your palms to warm it up until it forms a smooth, uniform rope roughly 1/2-inch thick with no air gaps. Press this putty rope firmly against the underside rim of your clean metal flange. Drop the flange back down into the clean sink opening and press down firmly with your hands to seat it in place.
5.Reassemble the Compression Rings and Re-hang the Unit:15 Minutes.
From beneath the sink, slide your fiber gasket, backup ring, and mounting ring back over the flange neck and secure them with the metal snap ring. Tighten the three mounting screws evenly, turning each one a few rotations at a time to maintain perfectly balanced upward pressure. Go above the sink and scrape away the excess putty that squeezed out into the bowl. Finally, lift your heavy disposal back onto the assembly and lock the lower ring clockwise until it clicks into position.
Critical Material Note: Stainless Steel vs. Composite Sinks
If your kitchen features a modern composite granite, quartz, or marble sink instead of classic stainless steel, do not use standard plumber’s putty.
Standard putty contains natural oils that will permanently seep into the porous structure of composite materials, leaving a dark, oily, impossible-to-remove stain around your drain opening. For composite or natural stone sinks, always use 100% plumbing-grade silicone sealant instead of putty to secure your top flange.
Proactive Habits to Protect Your Putty Seal
Once your new putty ring is compressed and completely leak-free, you can prevent future failures by making a few minor adjustments to your daily kitchen routine:
- Avoid Over-Feeding Your Disposal: Do not drop large amounts of dense food waste into the unit all at once. Processing heavy items creates violent structural shaking that speeds up the cracking of your putty ring. Feed scraps in gradually.
- Switch to Mechanical Cleaning Tools: If your kitchen drain slows down, avoid using aggressive, heat-generating chemical drain gels. Instead, use a simple manual hand snake or natural enzyme-based cleaners that will not degrade your rubber gaskets and putty compounds.
- Perform an Annual Visual Check: Make it a habit during your regular household maintenance to look underneath your sink with a flashlight. Verify that the three compression screws remain tight and that no white chalky residue (a sign of drying putty) is forming around the top mounting ring.