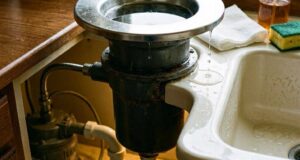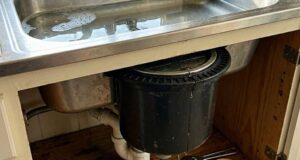
Discovering a puddle under your kitchen sink is bad enough, but finding that the water is actively seeping through visible fractures in the lower casing of your appliance is a different level of stress. When you have a garbage disposal leaking through physical cracks along the bottom shell or motor housing, you are dealing with a severe structural failure.
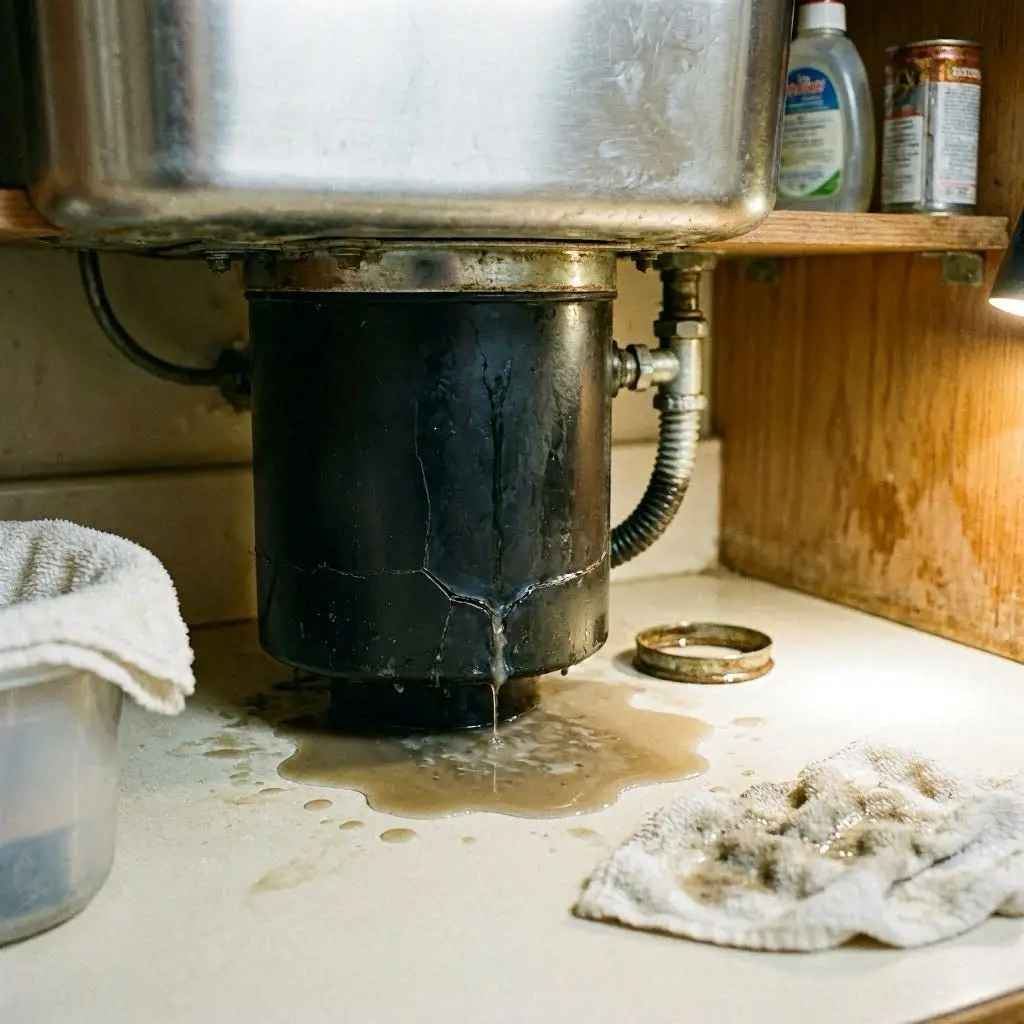
Unlike a dripping pipe or a loose mounting ring that can be tightened with basic hand tools, a fractured outer body completely changes your repair roadmap.
To help you protect your kitchen cabinets and make an informed decision, this guide breaks down why these cracks form, the hidden risks they present, and exactly what your next steps should be.
The Primary Triggers Behind Bottom Casing Cracks
1. Structural Fatigue from High-Vibration Stress
Garbage disposals are heavy-duty machines driven by motors spinning at high speeds—often between 1,700 and 2,800 RPM. This rapid spinning creates constant structural vibration. Over several years of continuous operation, this mechanical stress fatigues the lower plastic or composite shell of the appliance, eventually causing hairpins and larger structural cracks to develop near the base.
2. Internal Corrosion Blistering the Casing
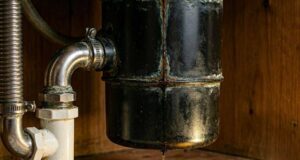
Lower-tier or mid-range garbage disposals often use galvanized steel for their inner grinding chambers. Over time, water and food acids break down this zinc coating, leading to severe rust and internal pitting. As the metal oxidizes, it expands significantly, putting extreme outward pressure on the surrounding plastic or outer metal shell until the housing literally splits open.
3. Impact Damage from Dropped Heavy Objects
While the flywheel and impellers are designed to grind soft organic waste, they don’t handle dense, hard objects well. If a heavy metal spoon, a thick bone, or a rogue coin slips down the drain unnoticed, hitting the power switch sends that object flying into the inner walls at high velocity. The force of this internal impact can instantly fracture an older, brittle plastic outer casing.
4. Severe Temperature Shocks
Pouring a large pot of boiling water directly down the disposal drain immediately followed by dumping a bucket of ice cubes creates rapid thermal expansion and contraction. The outer plastic casing cannot adjust to these sudden temperature swings as quickly as the inner metal components, which can lead to stress fractures along the structural seams of the lower housing.
Why a Garbage Disposal Leaking from Bottom Cracks Cannot Be Fixed
When facing a garbage disposal leaking scenario caused by physical fractures, many homeowners naturally search for a quick DIY fix. However, attempting to repair a cracked housing is fundamentally different from fixing other plumbing leaks, and it almost always fails for the following reasons:
The Failure of Epoxies, Glues, and Silicone Patches
Applying heavy-duty waterproof epoxies, marine-grade silicone, or structural tape over the cracks might seem like an easy fix, but it is highly temporary. The constant high-frequency vibration and torque generated during a grind cycle will quickly detach or crack the adhesive barrier.
Furthermore, water always takes the path of least resistance. Sealing a crack on the outer shell simply forces the trapped water to back up further into the internal electrical motor compartment rather than solving the core leak.
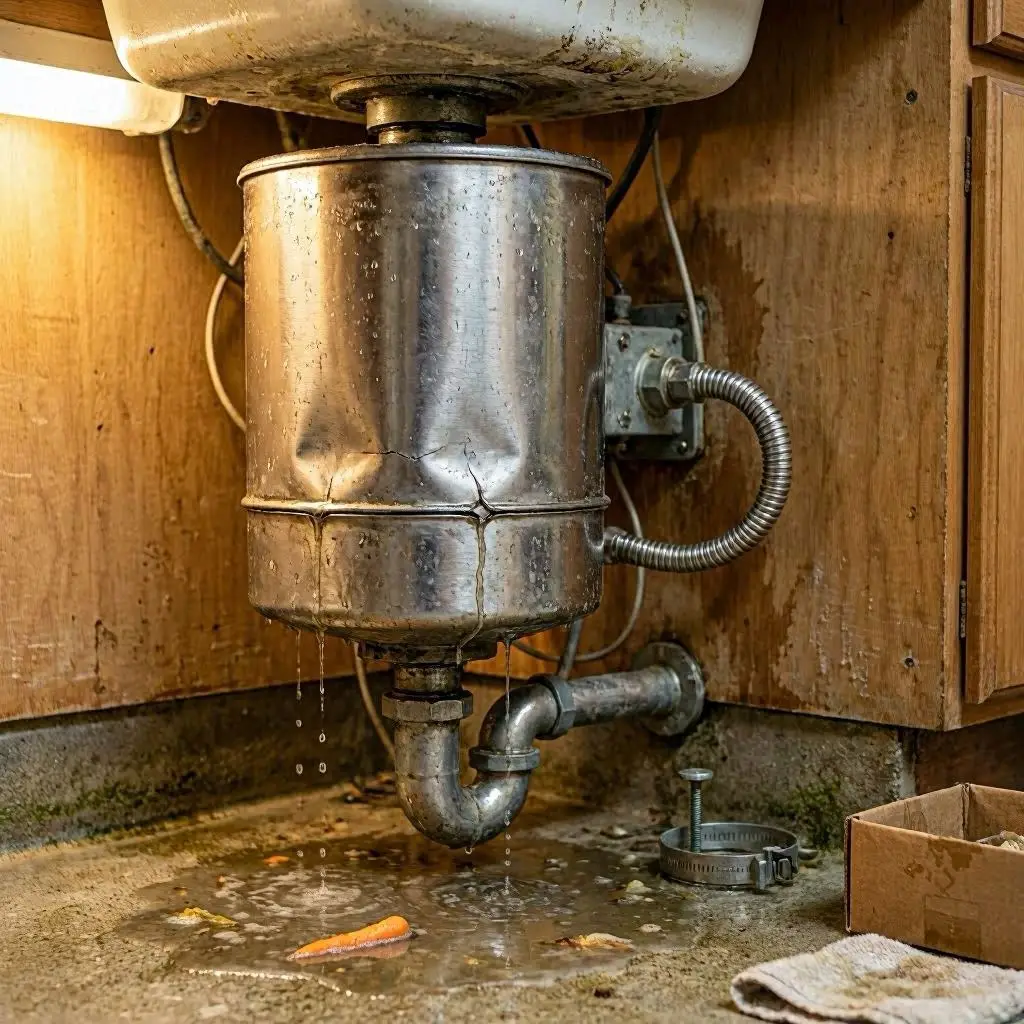
The Hidden Hazards Under Your Sink
Ignoring a fractured disposal body or trying to limp along with a bucket under the cabinet introduces serious risks to your home’s infrastructure and your personal safety.
1. Immediate Risk of Electrical Shock and Short Circuits
The lower portion of the disposal shell acts as the protective home for the unit’s electrical wiring, capacitors, and motor windings. When structural cracks allow water to flood this compartment, it creates an immediate risk of electrical shorts. Touching the unit while wet, or even flipping the wall switch, can cause a dangerous shock or trip your kitchen’s GFCI breaker.
2. Hidden Subfloor Rot and Black Mold Growth
A slow, continuous drip from a cracked housing often goes unnoticed behind stored cleaning supplies. This constant moisture ruins the cabinet base, warps wood paneling, and creates a prime breeding ground for toxic black mold. Replacing a ruined kitchen cabinet base floor is significantly more expensive than replacing the appliance itself.
Step-by-Step Action Plan: What to Do Next
If you have confirmed that your appliance is split or cracked at the bottom, follow this clear checklist to minimize damage and get your sink back in working order:
[Isolate Power] ──> [Dry Cabinet] ──> [Check Warranty] ──> [Select Replacement]
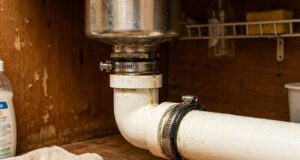
Step 1: Disconnect the Electrical Power Safely
Before reaching under the sink or inspecting the cracks further, disconnect the power supply. Unplug the unit directly from the under-sink electrical outlet. If your disposal is hardwired directly into the wall, locate your home’s main service panel and switch off the dedicated circuit breaker.
Step 2: Clear and Dry the Under-Sink Space
Remove all cleaning products, sponges, and boxes from the cabinet base. Use a dry towel or a shop vac to clear out any standing water. Place a wide, low-profile plastic basin directly beneath the cracked unit to catch any residual drops while you arrange for a replacement.
Step 3: Verify Your Manufacturer Warranty Coverage
Locate the model sticker on the side of your disposal to check the production date. High-end models often carry multi-year or lifetime limited structural warranties that cover cracked housings or component failures. If you are still within the warranty window, reach out to the manufacturer with your model and serial numbers to request a free replacement unit.
Step 4: Choose a Durable Replacement Unit
When shopping for a new model, prioritize units built to resist corrosion and vibration cracking. Look for disposals that feature:
- All-Stainless Steel Grind Components: Eliminates the risk of rust expansion inside the chamber.
- Corrosion-Proof Composite Housings: Modern high-durability polymers absorb mechanical vibrations better than older plastic shells without becoming brittle.
- Extended Warranties: A longer warranty period generally reflects higher-quality structural materials.
How to Prevent Future Housing Cracks
Once your new disposal is safely installed, adjusting how you use it can easily double its operational lifespan and prevent future structural leaks:
- Avoid Chemical Drain Cleaners: Never pour caustic drain openers down a disposal sink. These harsh chemicals sit inside the chamber, degrade the seals, and make plastic shells brittle over time. Instead, use mechanical drain snakes or enzyme-based cleaners to clear line clogs.
- Use the Cold Water Rule: Always run a steady stream of cold water before, during, and for fifteen seconds after grinding food. Cold water keeps the motor cool, solidifies grease so it can be ground cleanly, and prevents the thermal shocks that cause structural plastic fracturing.
- Control the Feed Volume: Do not stuff large quantities of waste into the chamber all at once. Drop food scraps in gradually to reduce the peak physical torque and stress placed on the housing walls.